Learn Enough Certificates of Completion
Aug 17, 2020 • posted by Michael Hartl
Michael Hartl here from the Rails Tutorial and Learn Enough. I’m excited to tell you about Learn Enough Certificates of Completion, one of our most requested features.
When you finish a Learn Enough course, you can now show off a snazzy badge with the name of the course and a link to your certificates page. You can even make your exercise answers public, thereby creating a convenient online portfolio of your coursework.
You can also share your badges on any page that supports HTML, like a personal website or blog. One great option—new as of this writing—is to add badges to your public GitHub README, a special file GitHub provides for just this sort of thing.
All of these are suitable for sharing with friends, coworkers, potential employers, parents, children, and more.
Read on for all the glorious details!
Public Learn Enough Certificates Page
Throughout the rest of this post, I’ll assume that you’ve completed at least one Learn Enough course. If you haven’t, now would be a great time to sign up for one; this post will still be here when you’re finished.
Once you’ve completed one or more courses, find your private Certificates page by going to Account > Certificates, as shown in Figure 1. The direct URL looks like this:
https://www.learnenough.com/account/edit#settings-certificate
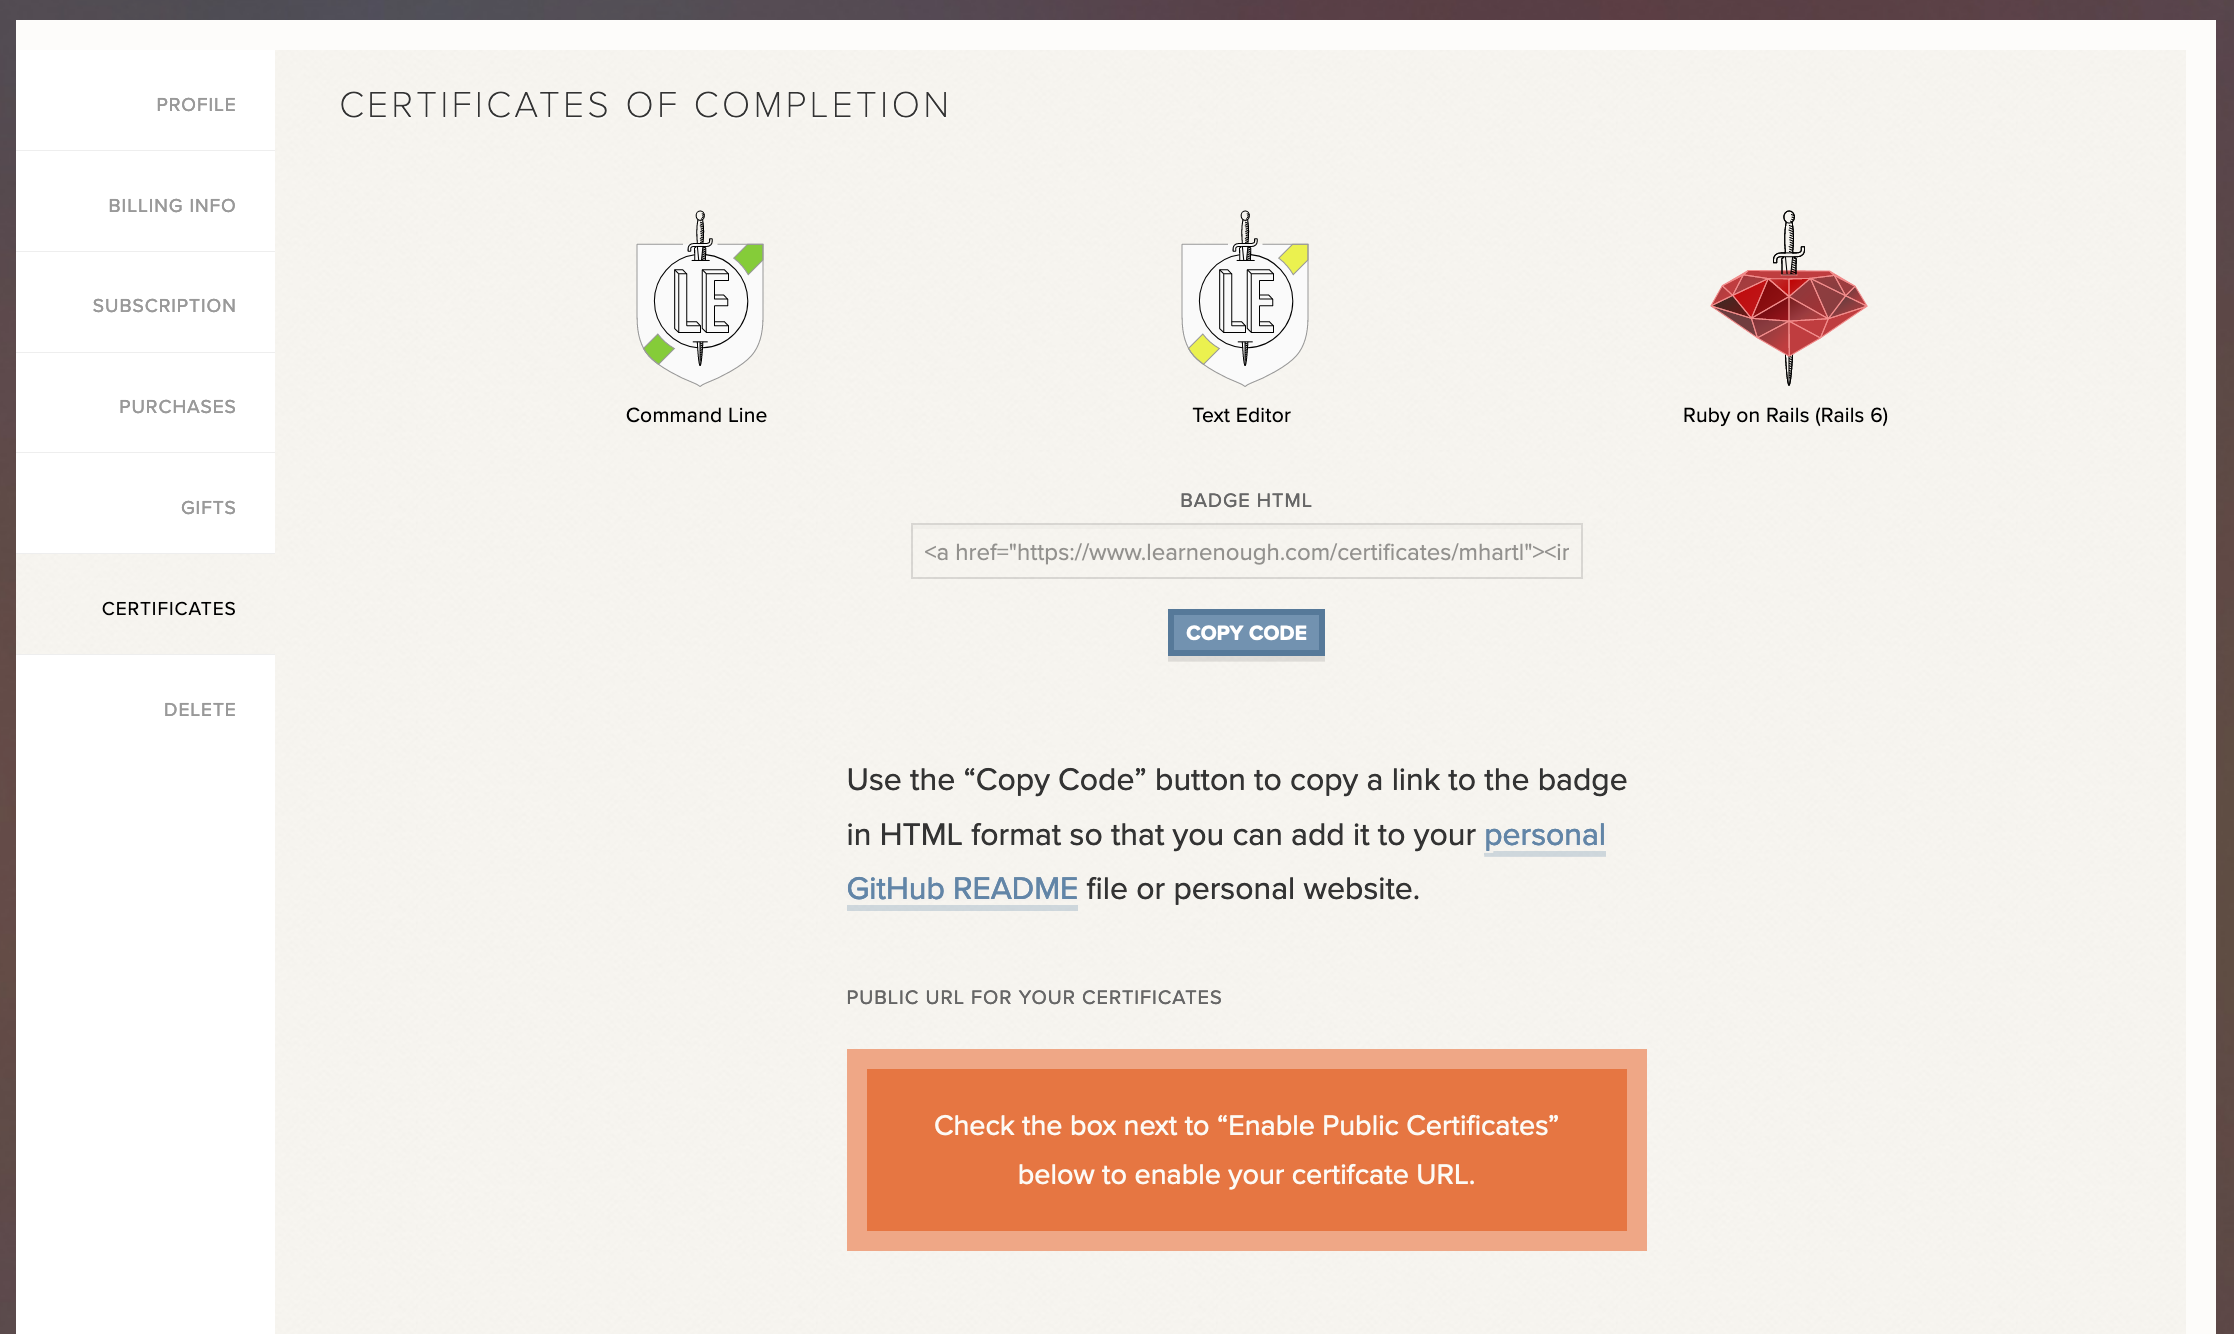
Here at Learn Enough, we take your privacy seriously, so by default your certificates page is viewable only by you. To make a version of it publicly available, you have to explicitly enable it. The way to do this is by checking the checkbox for “Enable Public Certificates”, as shown in Figure 2. If you’d also like to make your exercise answers public, there’s a checkbox for that, too. Finally, note that you can fill in details for a personal website, Twitter account, etc., which will be linked automatically on your public certificates page.
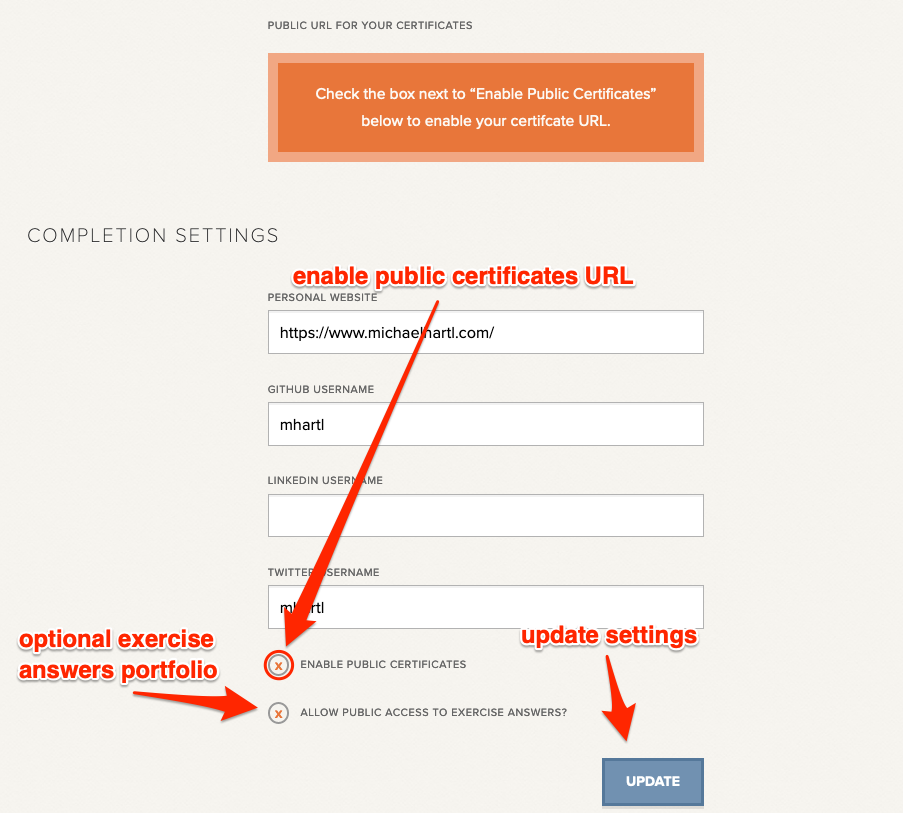
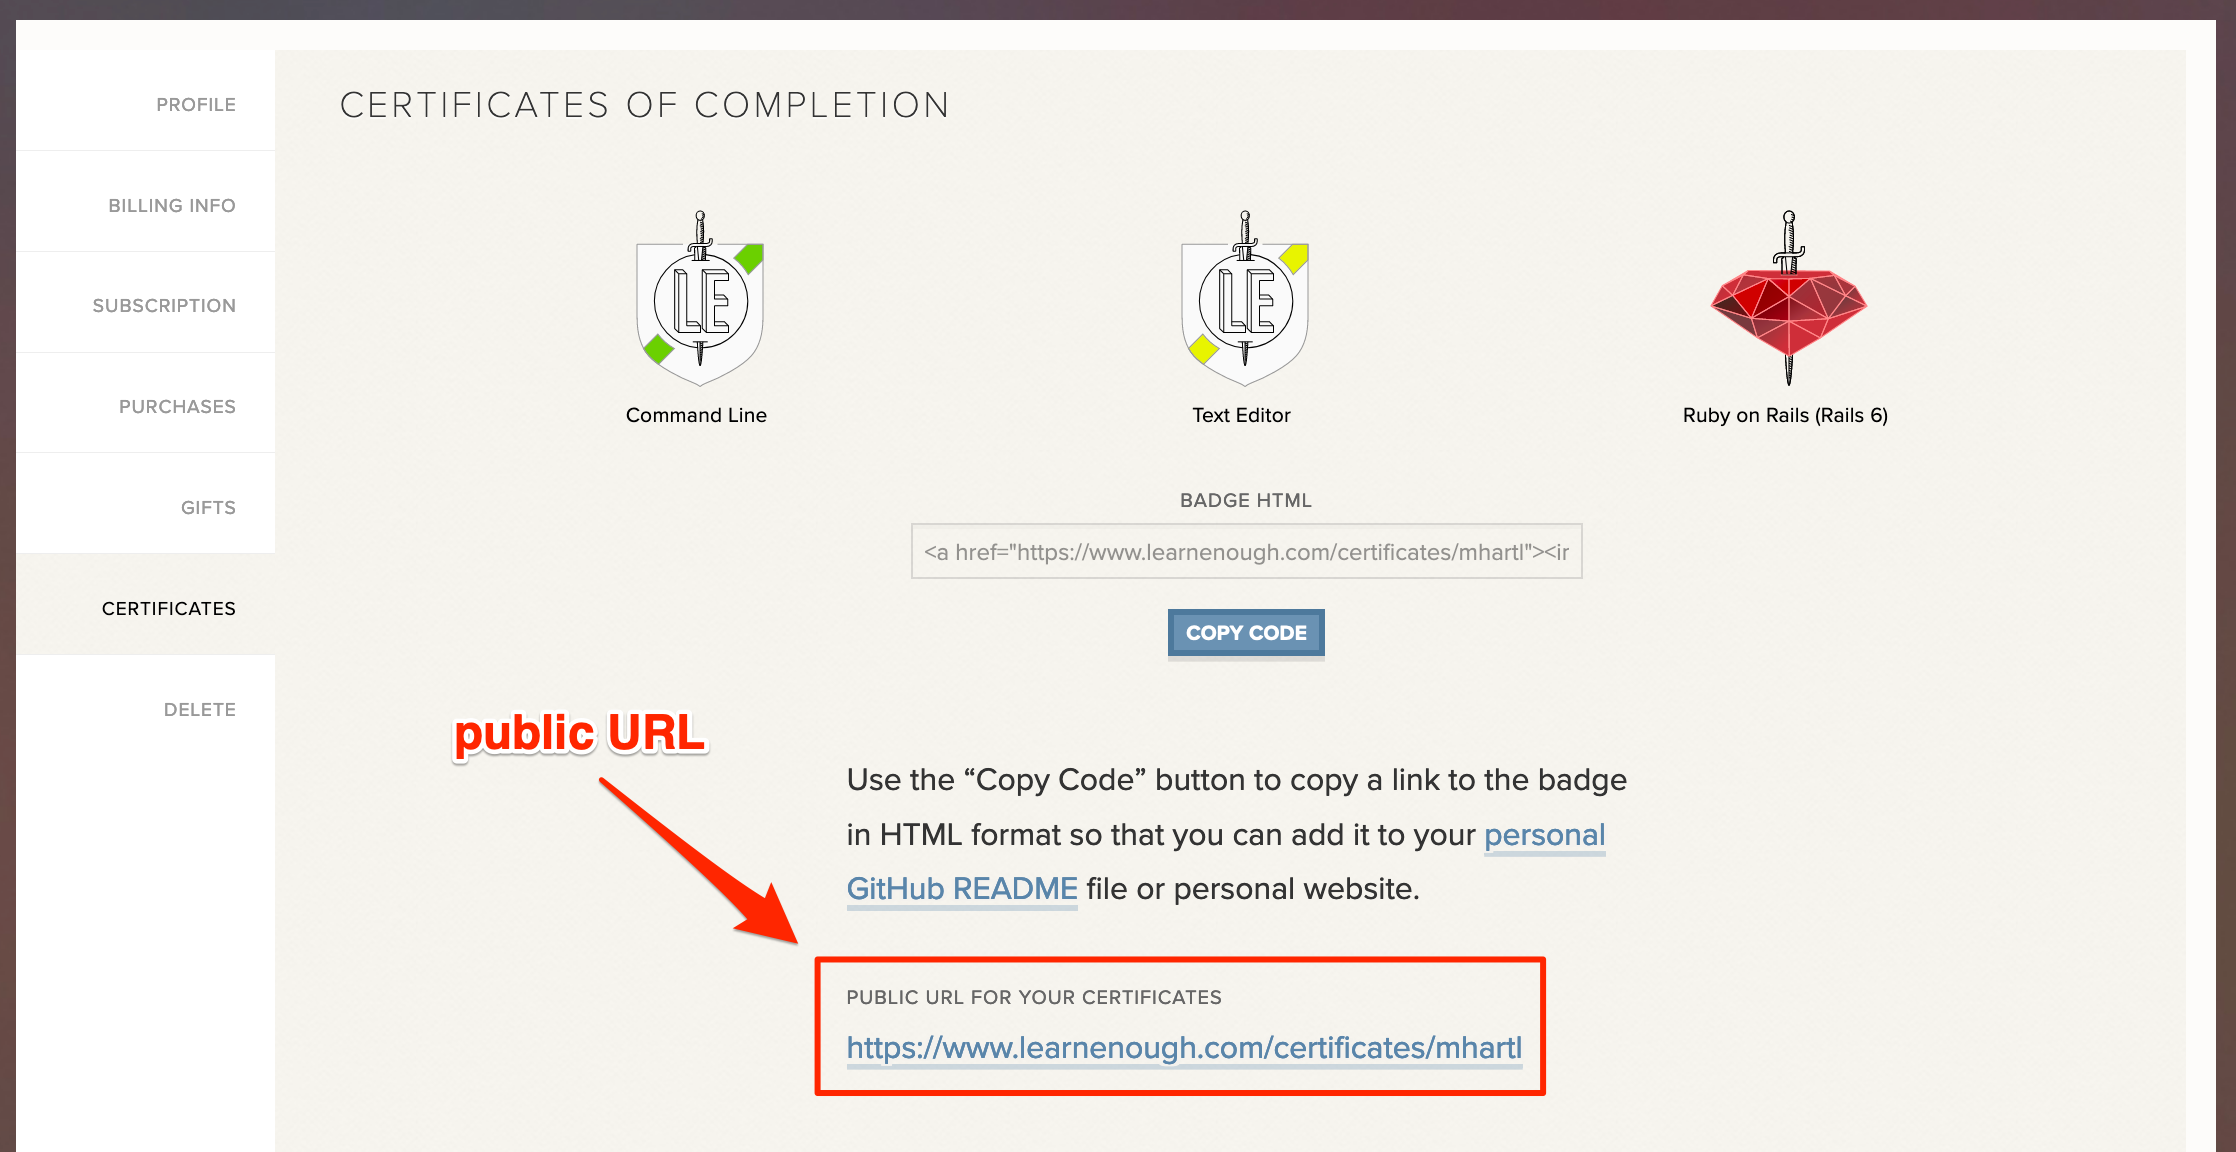
After updating the settings, you’ll now have a a public URL for the certificates page corresponding to your Learn Enough username (Figure 3):
https://www.learnenough.com/certificates/<username>
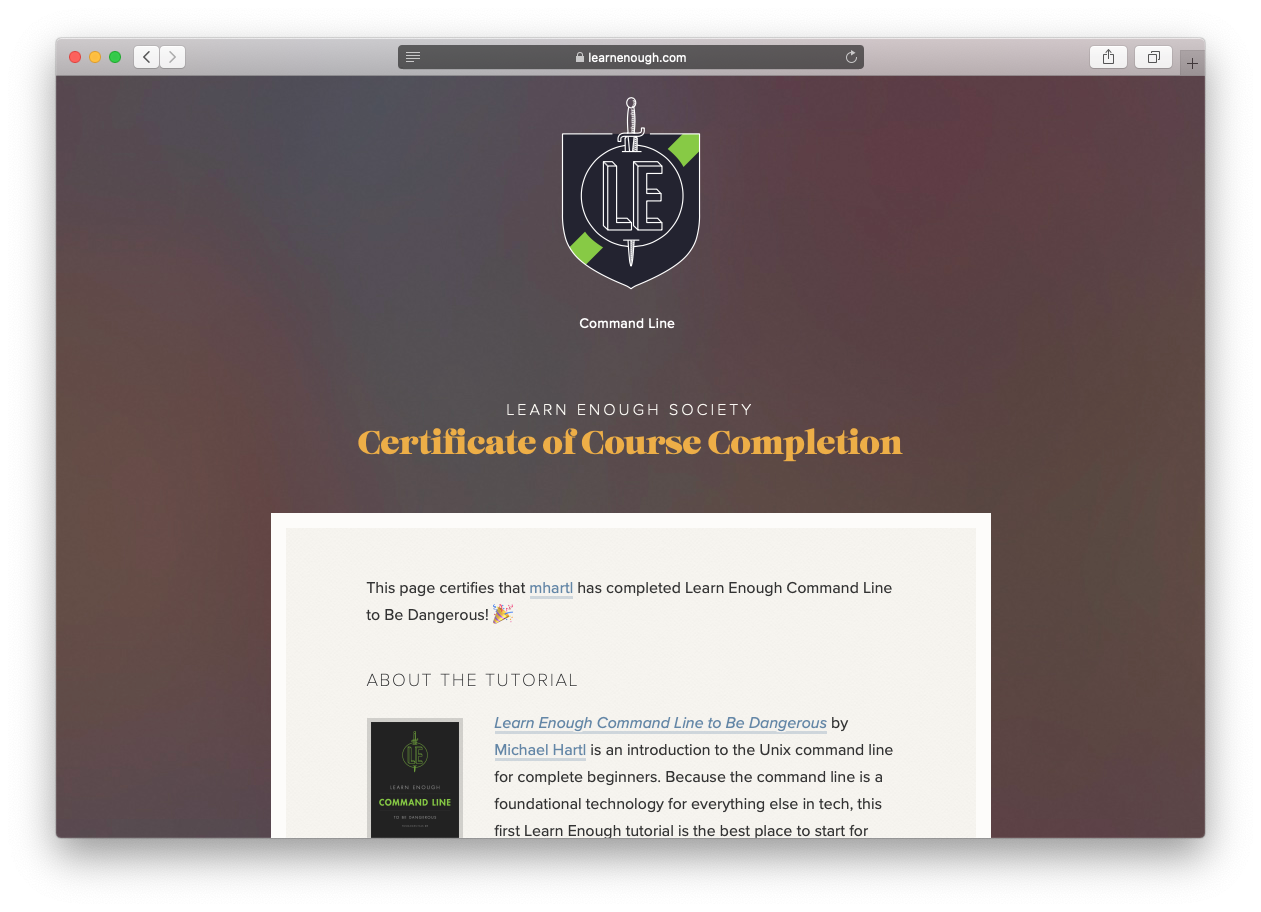
The page itself is shown in Figure 4, using a private browsing window to prove that you don’t have to be logged in as yourself to view it.
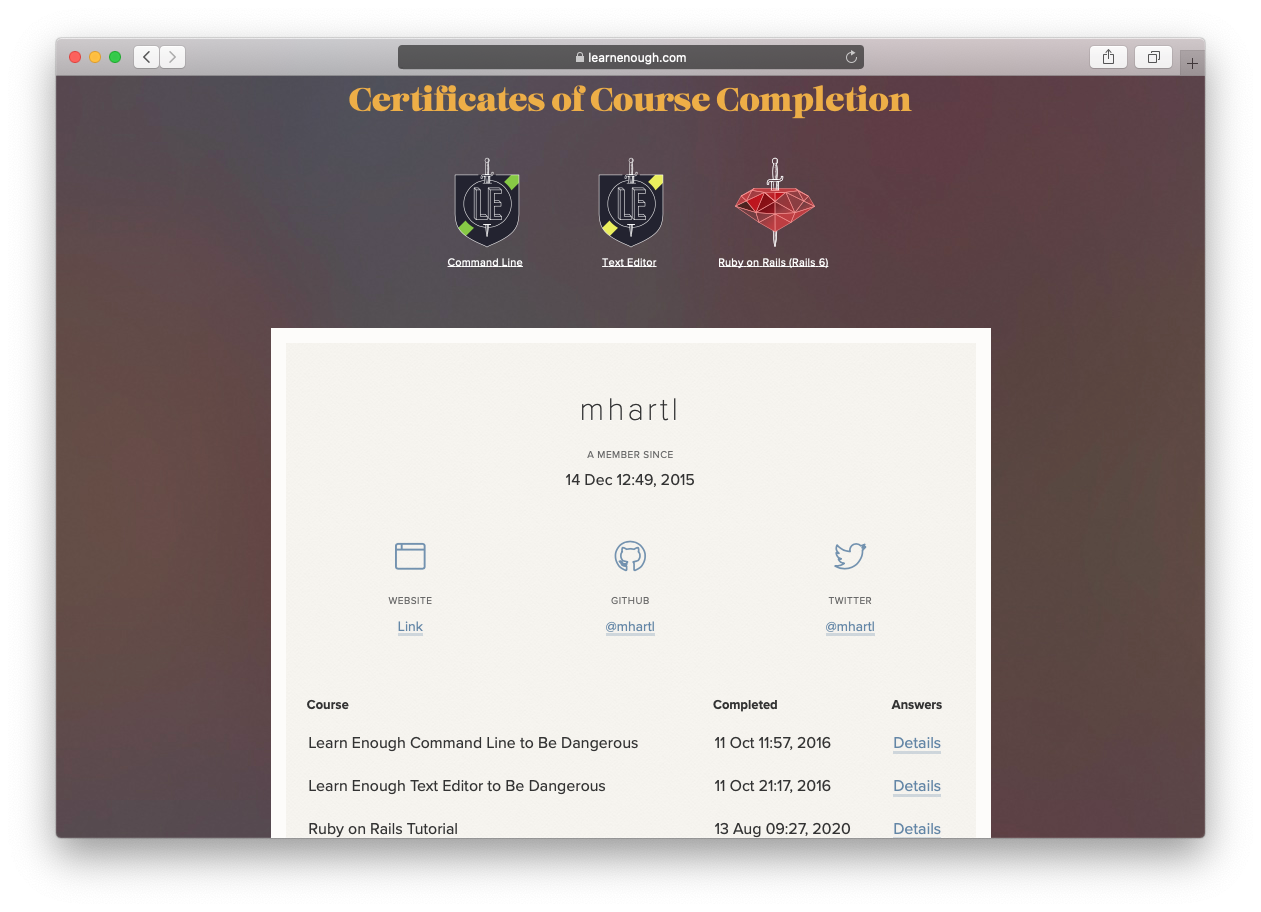
In my case, I actually enabled the exercise-answer display in Figure 2, which automatically gives rise to a column called “Answers”, as seen in Figure 4. The answers are displayed on the certificate page for each individual tutorial (Figure 5), as shown in Figure 6.
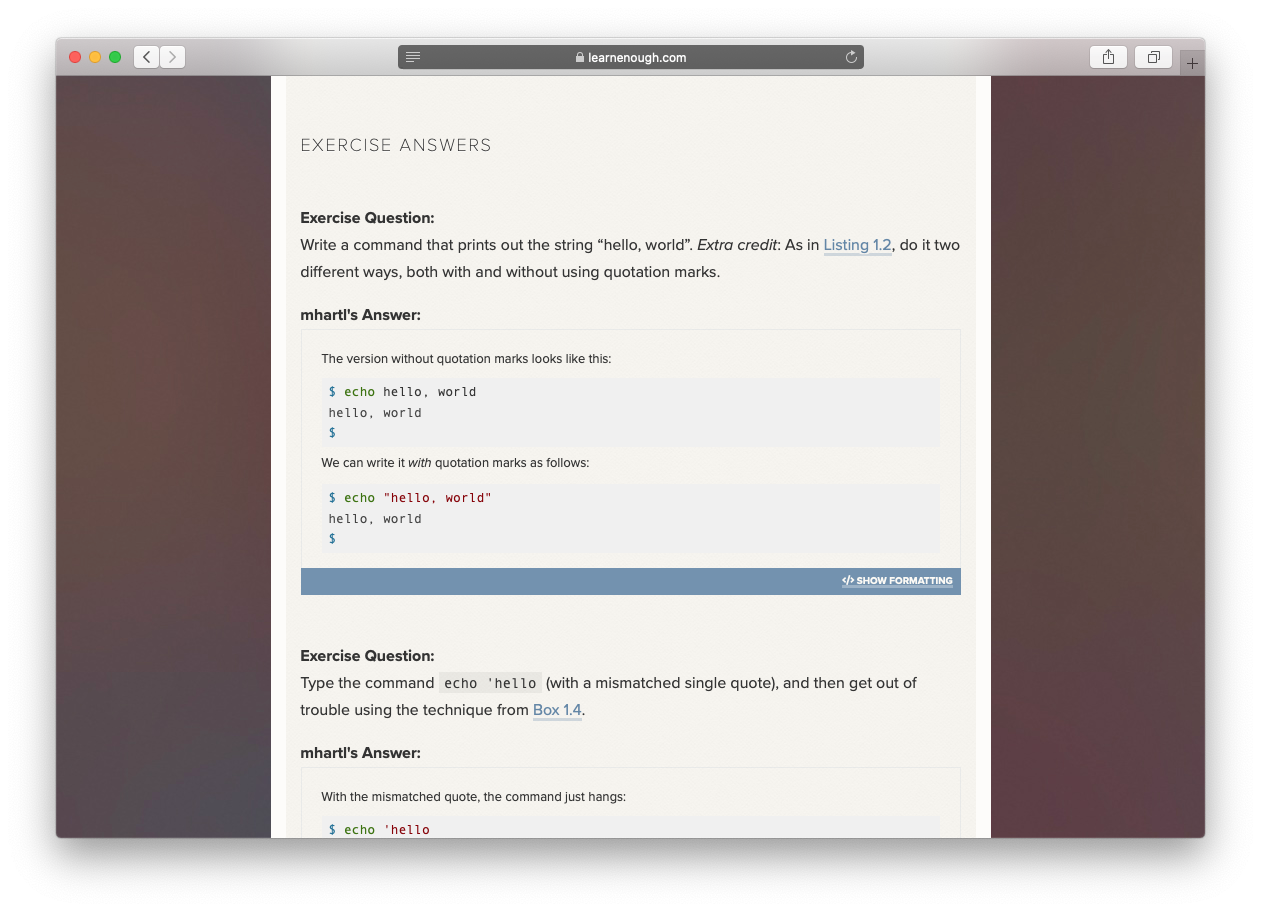
The Learn Enough and Rails Tutorial exercise-answer interface includes full Markdown support, so note in Figure 6 that the result includes nicely formatted HTML based on the Markdown answers I provided. The Learn Enough Certificates of Completion pages can therefore serve as an online portfolio of what you’ve learned.
GitHub README
In addition to giving you a public certificates page at the Learn Enough website, we also include code for embedding badges on any page that supports HTML. To use it, simply enable public certificates as in Figure 2 and then copy the HTML as in Figure 7.
The HTML from Figure 7 is suitable for inclusion in any web page. In particular, let’s take a look at how to use with on a great GitHub feature that lets you easily create a publicly viewable profile page.
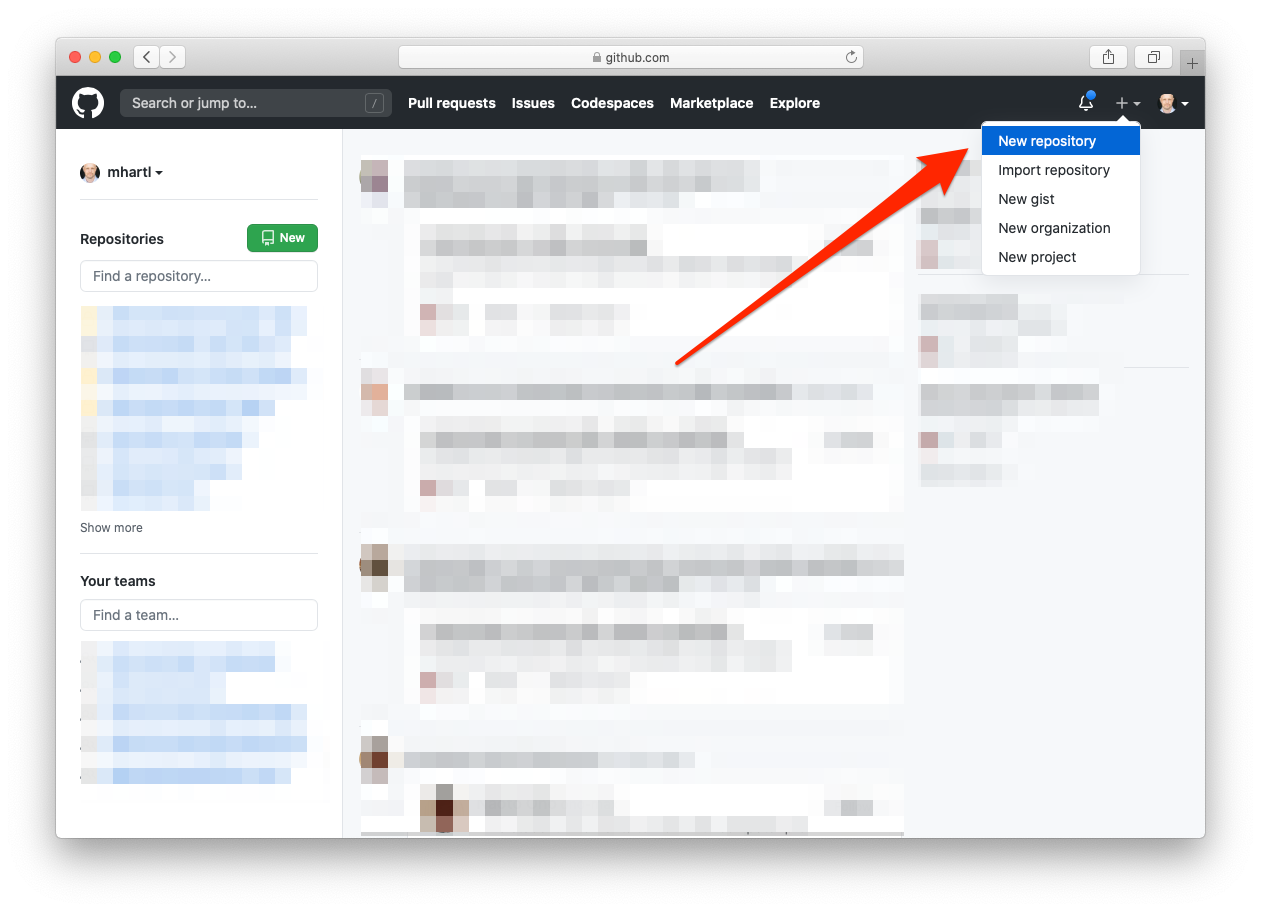
The first step is to create a new GitHub repository, as shown in Figure 8.
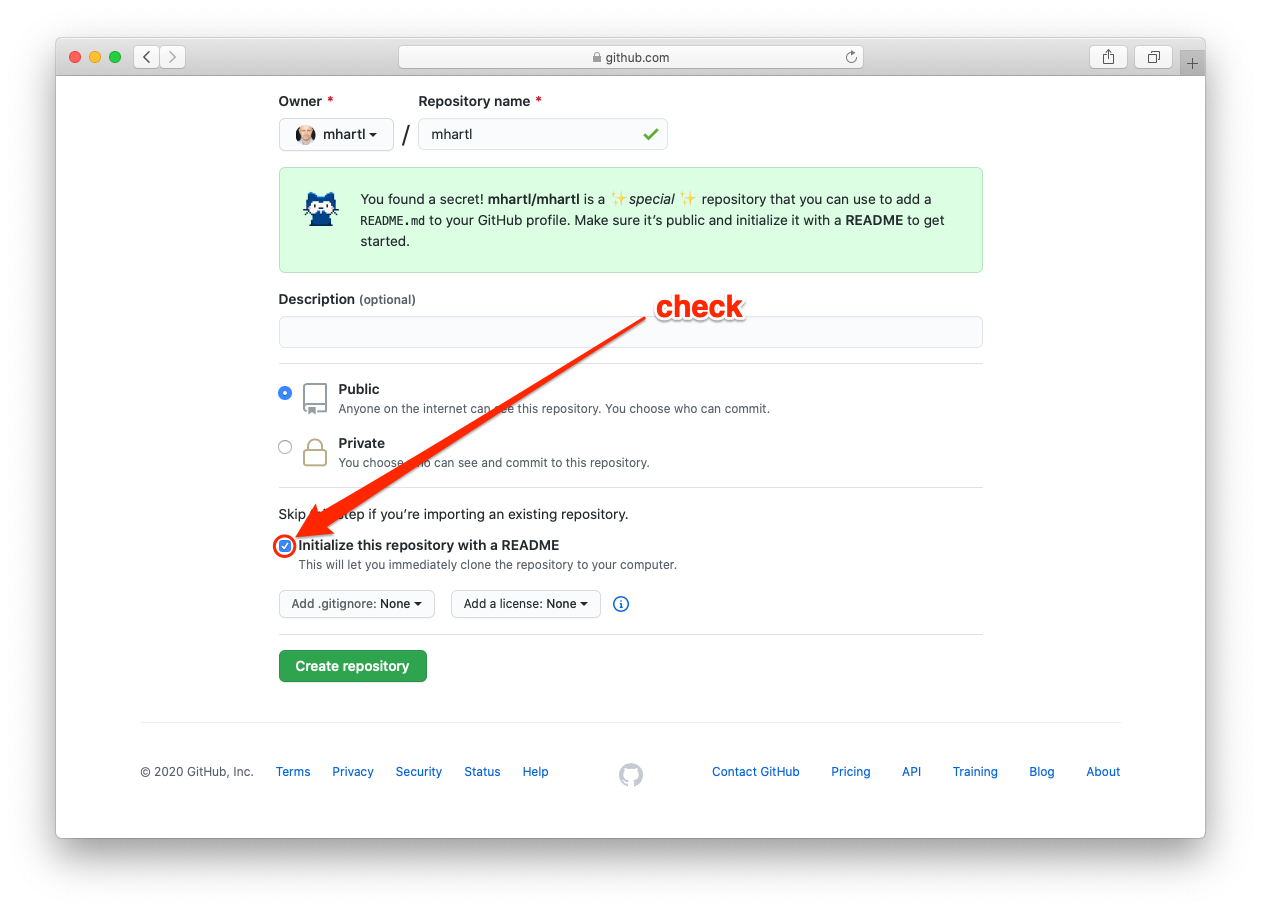
The trick to making a public GitHub profile page is to create a repository with the same name as your username. For me, this means creating a repo called mhartl, as shown in Figure 9.
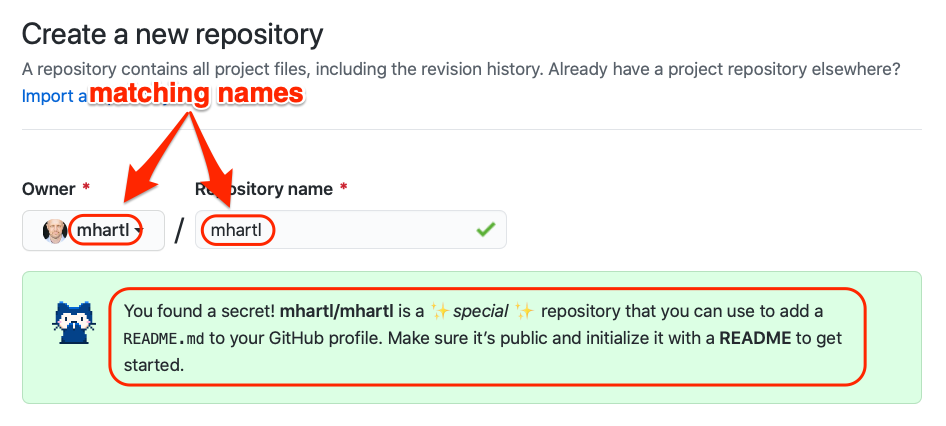
As noted in the box in Figure 9, all you need to do to make a public GitHub profile is fill in a README (specifically, a Markdown file called README.md). This means you should check the box to initialize the repo with a README, as shown in Figure 10.
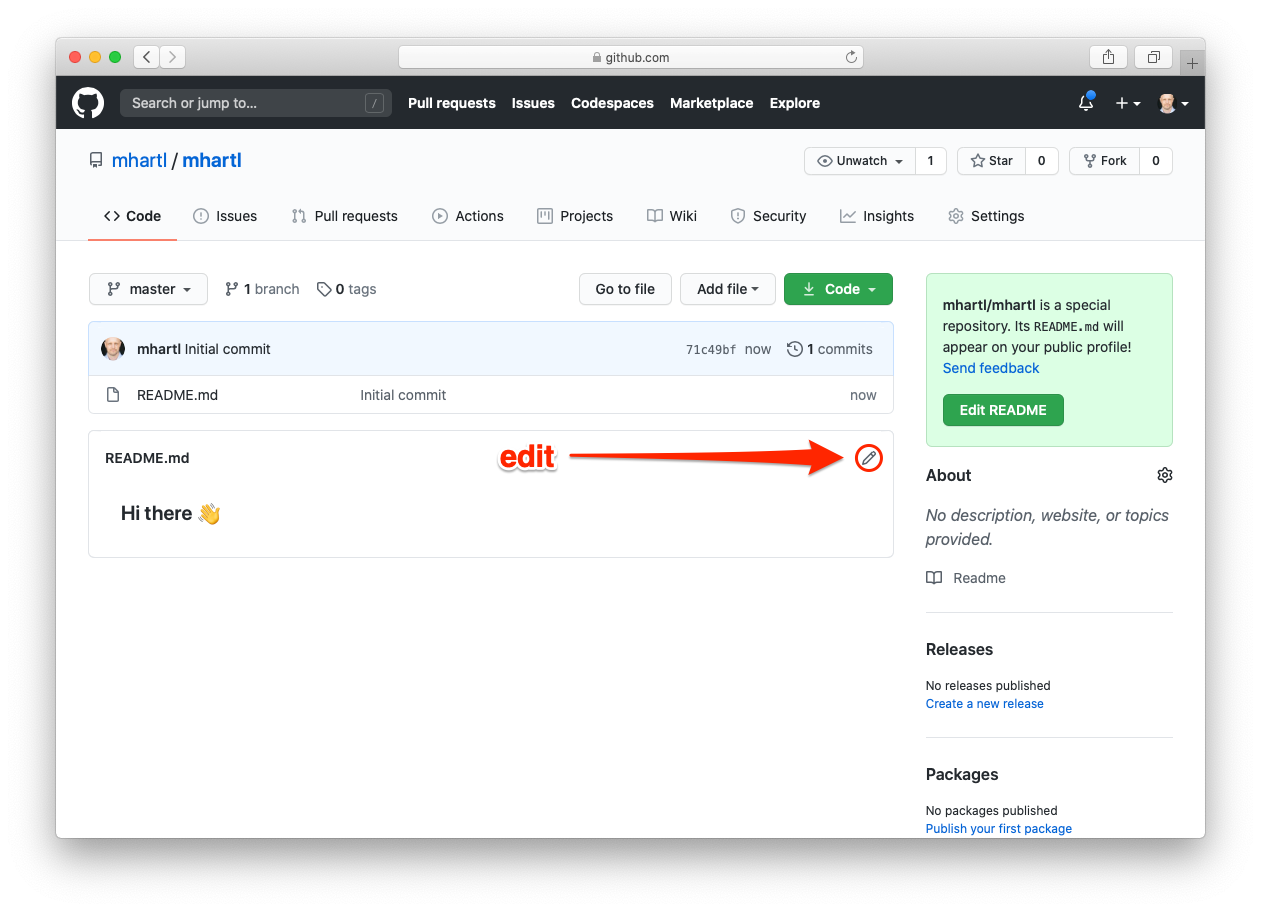
The result is a regular GitHub repo, which you can clone, edit, and push as usual, but GitHub also lets you edit it right on the Web. Let’s take advantage of this in-browser editing interface to add the HTML code for the Learn Enough badges.
The first step is to click the pencil icon to open the online editor (Figure 11).
Next, add in whatever Markdown text you want to, and then paste in the HTML code from Figure 7. (Note that Markdown is a superset of HTML, meaning that Markdown adds to but never subtracts from HTML, so valid HTML is automatically valid Markdown.)
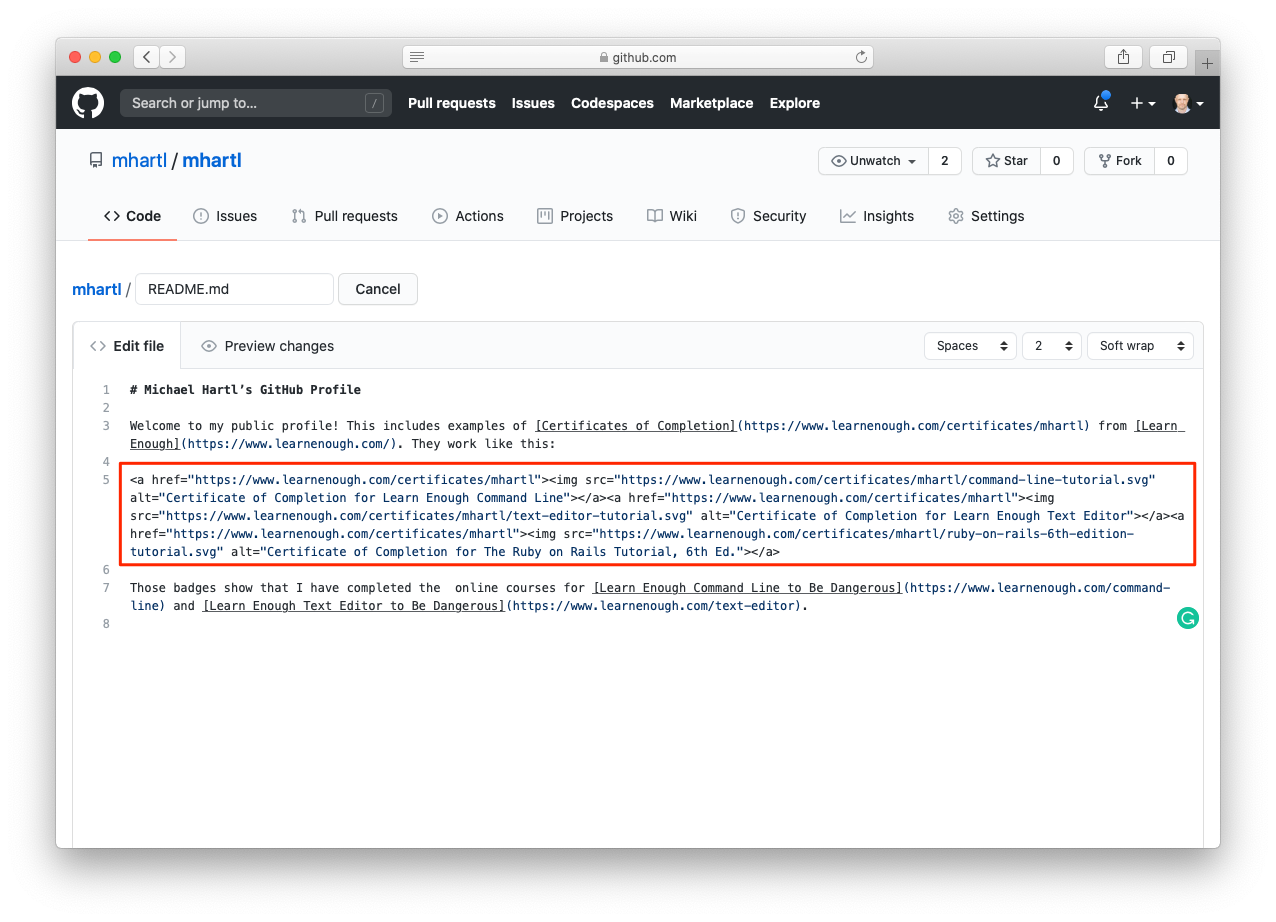
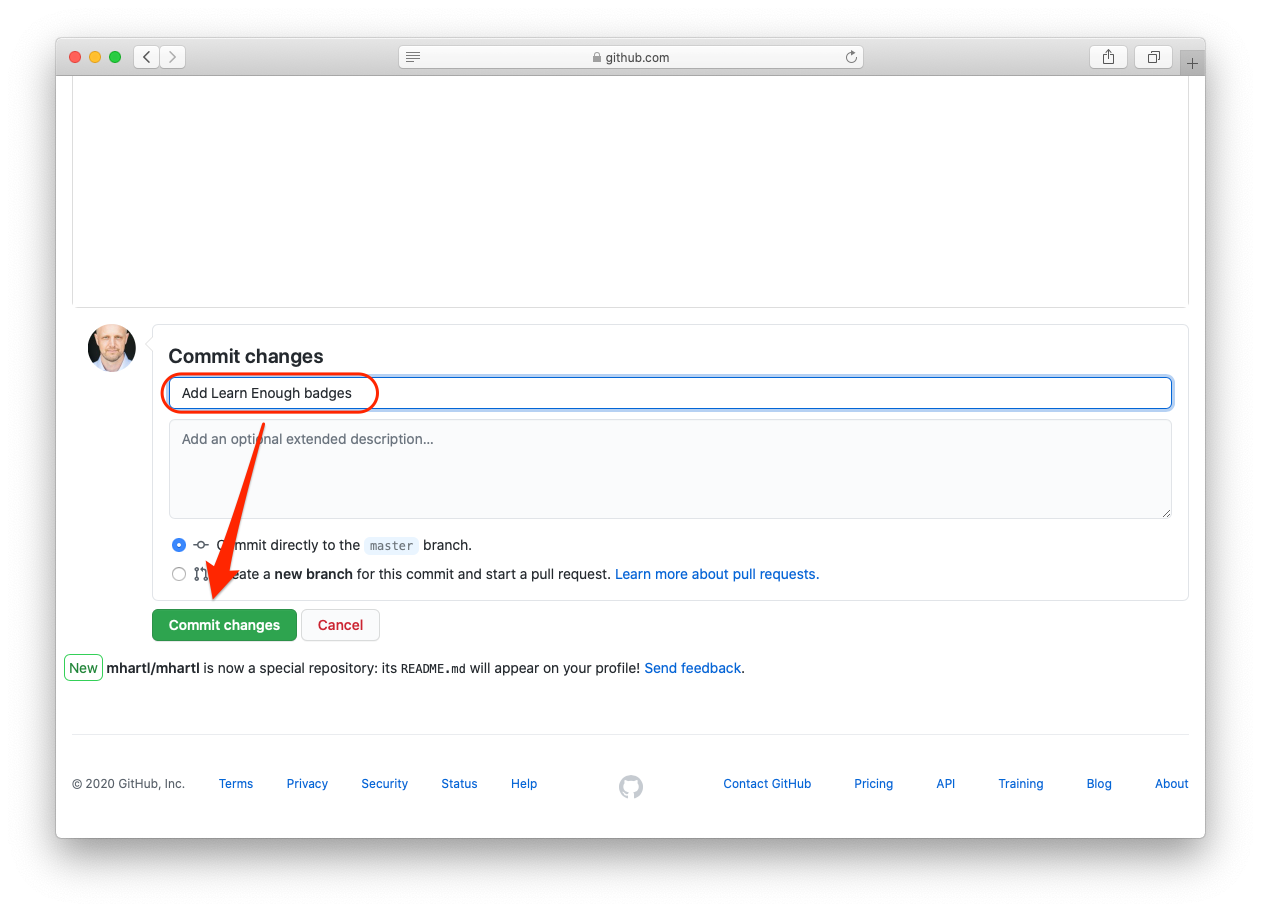
Once you’re done editing, you can save the changes by making a Git commit, as show in Figure 13. (You can also click “Preview changes” in Figure 12 if you want to double-check the Markdown-to-HTML conversion before making a commit.)
The result is a README file with Learn Enough badges, as shown in Figure 14. These badges automatically link to the same Certificates of Completion page shown in Figure 4.
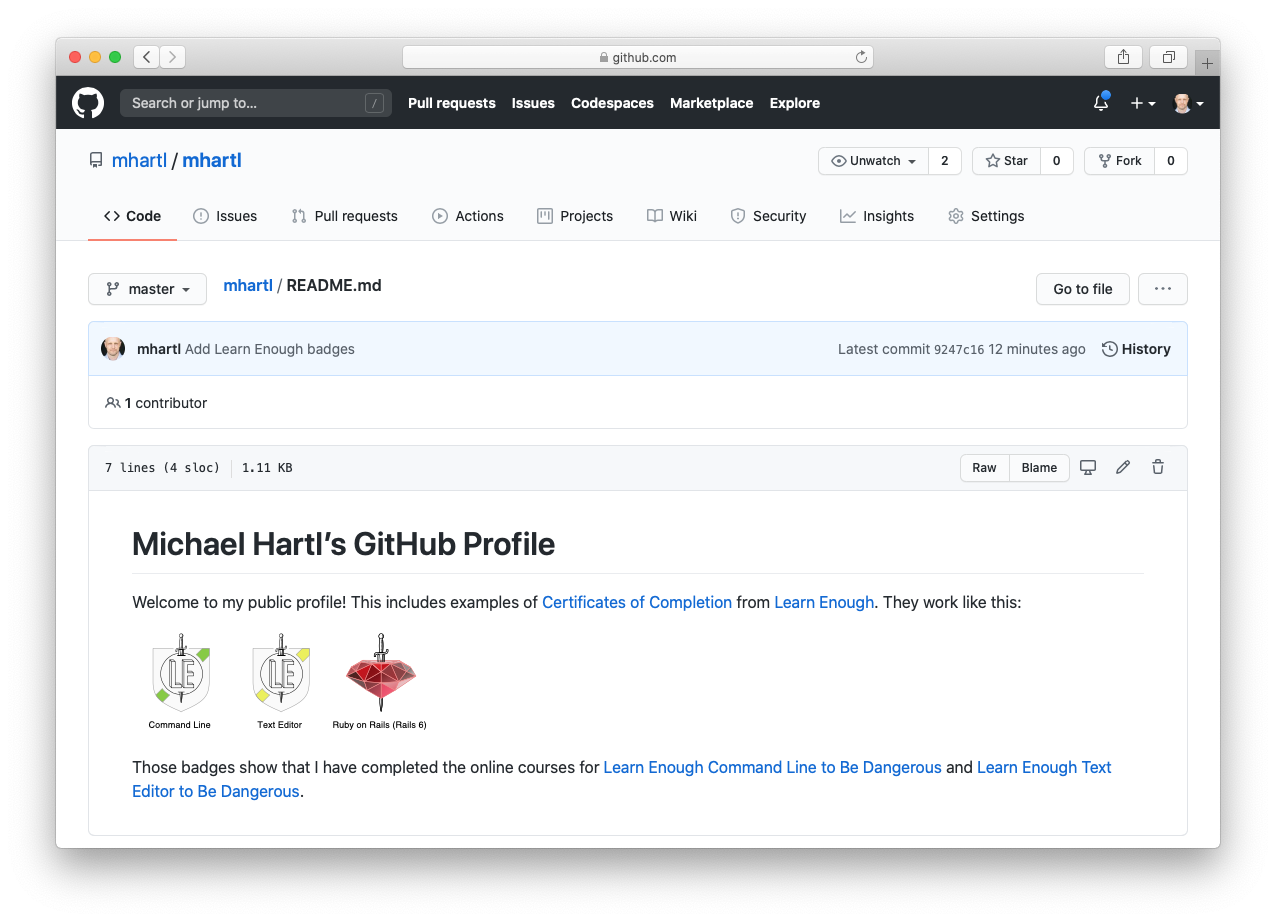
The README in Figure 14 is still a private display, though; the really cool part is that now anyone can view your profile README using the simple URL
For example, visiting the URL
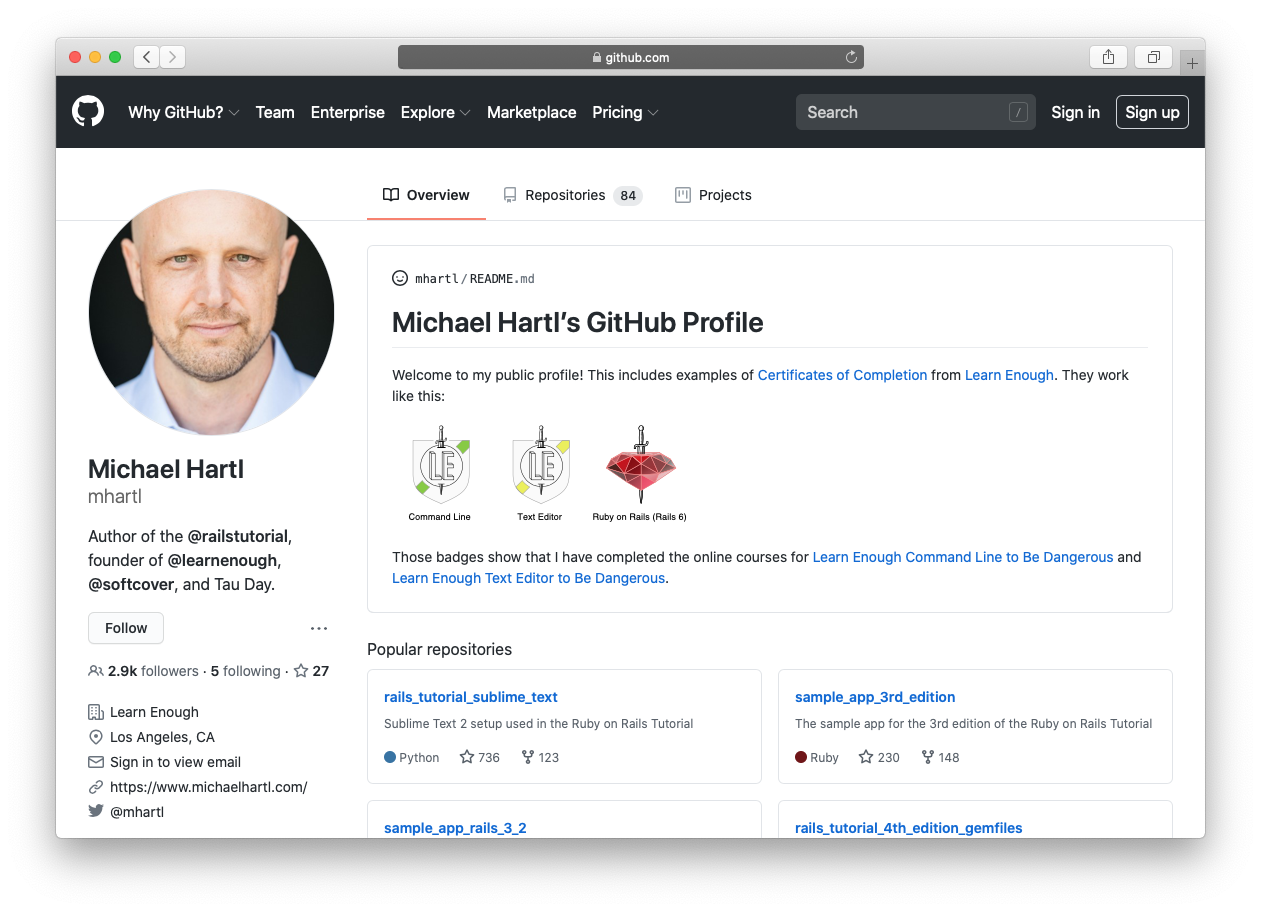
shows my public GitHub page, including the README with Learn Enough badges (Figure 15). As in Figure 3, Figure 15 uses a private browsing window to prove that the display works for any user.
That’s it! Between the public Learn Enough certificates page and your public GitHub profile, you can now share your Learn Enough progress and accomplishments with all the world. Huzzah!