The Third Skill Is… Version Control?!
Oct 30, 2019 • posted by Michael Hartl
Learning to code? Learn Enough is based on the idea that you don’t have to learn everything about tech to get started—you just have to learn enough to be dangerous. This is the third in a series of posts introducing the main Learn Enough tutorials. You can also read the previous one and the next one. You might also enjoy the Learn Enough Git free sample chapters and free sample videos.
Learn Enough Git
When I first conceived the Learn Enough sequence for learning technical sophistication, I figured that the first skill covered would be a text editor. As noted in “Everyone Should Learn the Command Line”, I quickly realized that the command line should come first—among other reasons, that’s what most people I know use to launch a text editor.
This was a mild surprise. The choice for the third skill, though, came as a complete shock: I realized it should be, of all things, version control.
“Version control” is a kind of application designed to track changes in projects. By itself, that doesn’t sound all that exciting, and it’s also far from clear that it should be covered so early in a technical sequence—before even HTML or a programming language such as JavaScript.
Even ten years ago, such a choice would have seemed bizarre. But nowadays version control has become a major enabling technology for huge parts of the technical ecosystem—specifically, version control with Git, a system originally developed by Linus Torvalds to host the Linux kernel.
Thus was born Learn Enough Git to Be Dangerous, the third Learn Enough tutorial, which is available as an ebook, an offline video series, and a structured online course.
The many benefits of Git
Just look at all the things made possible by learning Git so early:
- Tracking changes in text-based projects
- Recovering from errors in such projects
- Sharing projects publicly or privately on sites like GitHub, Bitbucket, and GitLab
- Collaborating with fellow developers and other technical people
- Deploying a simple HTML website to GitHub Pages (Learn Enough HTML)
- Deploying a professional-grade website created with a static site generator and styled with CSS (Learn Enough CSS & Layout)
- Deploying a simple JavaScript web app to GitHub Pages (Learn Enough JavaScript)
- Deploying a simple Ruby web app to Heroku (Learn Enough Ruby)
- Deploying a professional-grade Rails web app to Heroku (the Ruby on Rails Tutorial)
The usual approach to version control is to treat it as a kind of afterthought. As noted, ten years ago that might even have been justified. But nowadays version control is not only an essential component of professional-grade development, it’s also a foundational technology that makes many other things possible.
Learn by watching (and doing)
To get a quick preview of Learn Enough Git to Be Dangerous, I made a short video of a web page being created using the Atom text editor, one of the editors covered in Learn Enough Text Editor:
This is just a taste of Git; version control, more than most other programming technologies, really needs to be used to be fully appreciated—an experience you’ll get in the full Learn Enough Git tutorial.
Sample project
Here’s a summary of some of the steps from the video, showing how the material ties in with the preceding tutorials on the command line and text editors. Note: If you actually want to follow along on your own system, you’ll first have to complete the section on “Installation and setup” in Learn Enough Git.
In order to learn version control, we need a sample application of some sort, preferably one that’s based on plain text. As in Learn Enough Git itself, a simple HTML website does nicely (while also giving a nice preview of the following Learn Enough tutorial, Learn Enough HTML to Be Dangerous).
Creating a test website (just a single page in this case) is easy at the command line:
$ cd ~/repos            # Change to the repositories directory
$ mkdir test_website    # Make the test website directory
$ cd test_website/      # Change into the website directory
$ touch index.html      # Create a so-called "index" file
The last command here uses the touch command to create an empty file, one of my favorite little command-line techniques.
When it comes to using Git, all the work done to learn the command line pays off immensely, as Git itself is available as a command-line program called git. In particular, we can use the git init command to initialize the project as a special kind of directory called a repository (thus the repos parent directory):
$ git init
Initialized empty Git repository in
/Users/mhartl/repos/test_website/.git/
We then add all the files to the repository using git add and the -A (“all”) option:1
$ git add -A
At this point, we’re ready to commit the changes with git commit, which in this case simply tells Git that we’ve initialized the repository. As part of the commit, we use the -m option to include a descriptive message:
$ git commit -m "Initialize repository"
This saves our changes in a durable format, so that it’s impossible to lose them unless we lose the directory in its entirety.
Editing the project
Now we’re ready to start editing the project by opening it with a text editor:2
$ atom .
Next, we’ll fill it with an HTML skeleton (using a so-called tab trigger, as seen in the video):
<!DOCTYPE html>
<html>
  <head>
    <meta charset="utf-8">
    <title>Test Website</title>
  </head>
  <body>

  </body>
</html>
Using git status then shows that the index.html file has indeed been modified:
$ git status
On branch master
Changes not staged for commit:
  (use "git add <file>..." to update what will be committed)
  (use "git checkout -- <file>..." to discard changes in working directory)

  modified:   index.html

no changes added to commit (use "git add" and/or "git commit -a")
To add the change and commit at the same time, we can use -a to incorporate all changes and add a message with -m as before (Listing 2).
$ git commit -am "Add HTML skeleton"
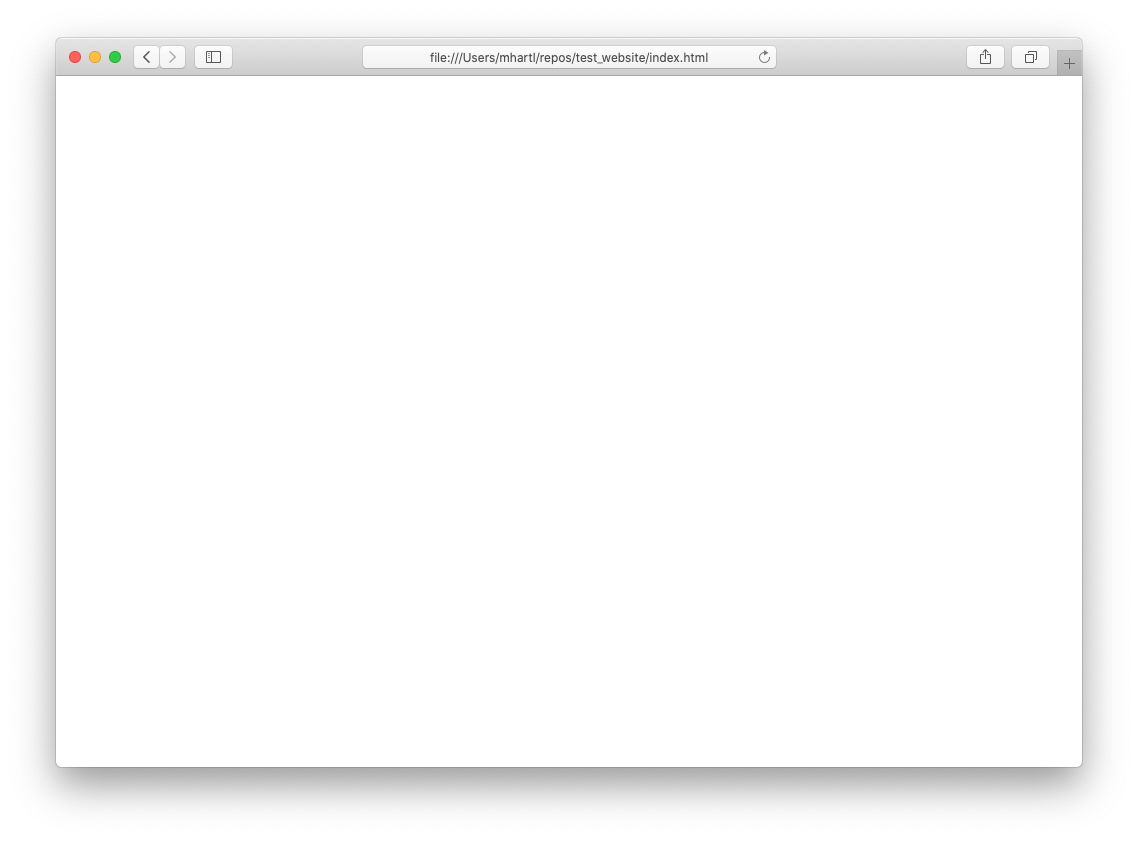
As seen in Figure 1, the page is currently blank.
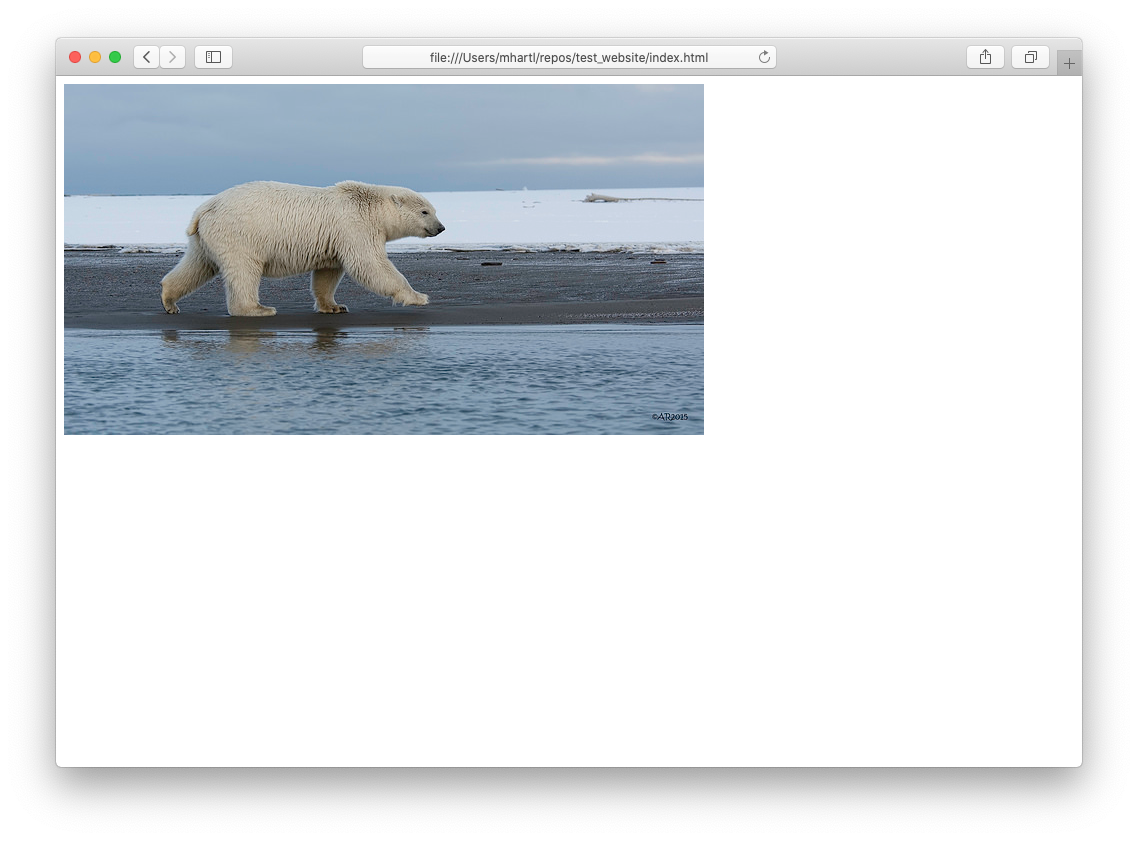
Let’s make a small change by adding an image, which we’ll pull from the Learn Enough CDN using the command-line program curl:
images directory.
$ mkdir images
$ curl -o images/polar_bear.jpg -OL cdn.learnenough.com/polar_bear.jpg
We’ll add it to the page using the HTML img tag (covered further in Learn Enough HTML):
<!DOCTYPE html>
<html>
  <head>
    <meta charset="utf-8">
    <title>Test Website</title>
  </head>
  <body>
    <img src="images/polar_bear.jpg" alt="Polar bear">
  </body>
</html>
As seen in Figure 2, this successfully adds the image to the page.
We can see the exact nature of the change to our repository using git diff, which displays the differences using the same output format as the Unix diff utility:
$ git diff
diff --git a/index.html b/index.html
index bdf2f06..6dff267 100644
--- a/index.html
+++ b/index.html
@@ -5,6 +5,6 @@
     <title>Test Website</title>
   </head>
   <body>
-
+    <img src="images/polar_bear.jpg" alt="Polar bear">
   </body>
 </html>
The - refers to what was subtracted (in this case, a blank line), and + indicates what was added, namely, the line for the image.
Let’s commit the changes one more time. We can’t use the -am technique from Listing 2 because we added a new file and directory in Listing 3, which don’t get picked up by the -a flag. Instead, we need to use git add -A again as in Listing 1:
$ git add -A
$ git commit -m "Add a polar bear image"
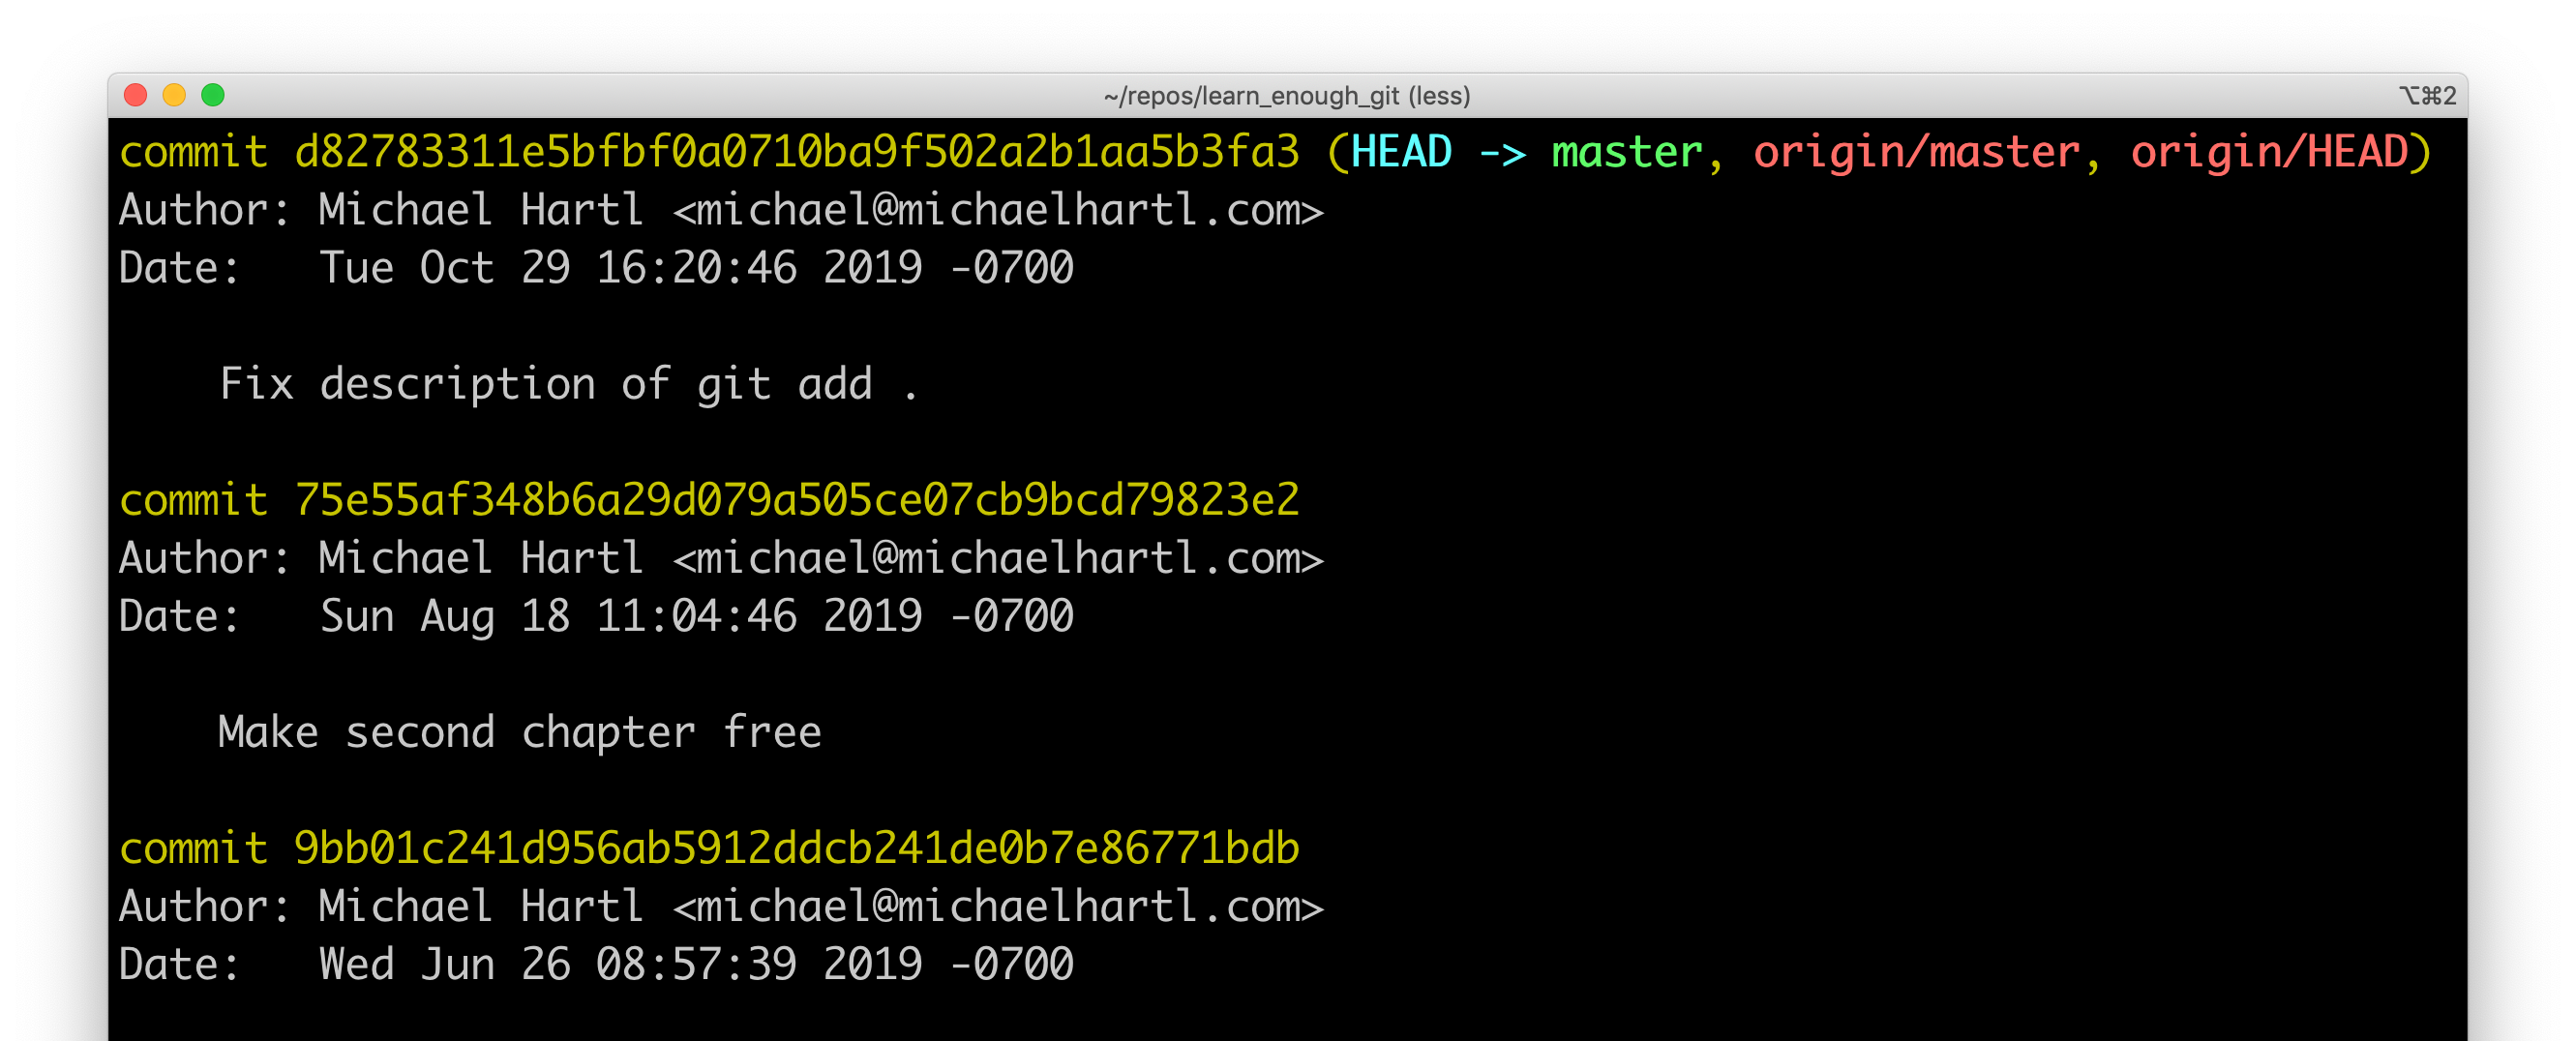
If we like, we can use the git log command to look at a log of our commits:
$ git log
commit 029549d5c014a6cae95151187499a87f3092f11d
Author: Michael Hartl <[email protected]>
Date:   Sun Apr 21 20:45:06 2019 -0700

    Add a polar bear image

commit 7f0c5c3767692cfe568e1ba0473be20781e653f9
Author: Michael Hartl <[email protected]>
Date:   Sun Apr 21 20:26:09 2019 -0700

    Add HTML skeleton

commit f4a903d4001b209ecb1033830c7c9dfb1d37744a
Author: Michael Hartl <[email protected]>
Date:   Sun Apr 21 20:23:35 2019 -0700

    Initialize repository
The commits are labeled by so-called “SHAs”, which are unique identifiers for each bundle of changes.
Sharing the project
At this point, we’re ready to share our repository with other users, such as project collaborators. We’ll use the popular website GitHub for this purpose.
This is the sort of setup that is much easier to demonstrate via video, one of the reasons that the Learn Enough tutorials generally include both a text and a video component. The result is a repository on the Web that lets other people collaborate with us (either publicly or privately, by invitation), as shown in Figure 3.

Of course, this is just a tiny taste of what Git can do. Learn Enough Git to Be Dangerous shows in detail how to use Git and GitHub to collaborate with other team members, resolve conflicts, and even publish our website to the live Web.
Going further
That’s it for the brief overview. You can find out a lot more by reading the free sample chapters of Learn Enough Git, and even more by getting the full tutorial.
As with many technical topics, Git is a deep subject, and you’ll likely keep learning new commands and concepts for years—but the good news is that you don’t have to learn everything to get started: you just have to learn enough to be dangerous.
- Learn Enough Git to Be Dangerous: Learn the basics of version control with Git. Available as an ebook, videos, or a self-paced online course.
- All Access Subscription: Get full access to Learn Enough Command Line, Learn Enough Text Editor, Learn Enough Git, and all the Learn Enough courses for one monthly price. Includes the full 6th edition of the Ruby on Rails Tutorial as well.
git add ., where . (“dot”) represents the current directory. In the rare cases where the two differ, what you usually want is git add -A, and this is what’s used in the official Git documentation, so that’s what we go with here.touch to create a file and atom . to open the full directory scales up nicely to bigger projects.